
使用Let’s Encrypt为自己的网站加一把锁
使用Let’s Encrypt为自己的网站加一把锁
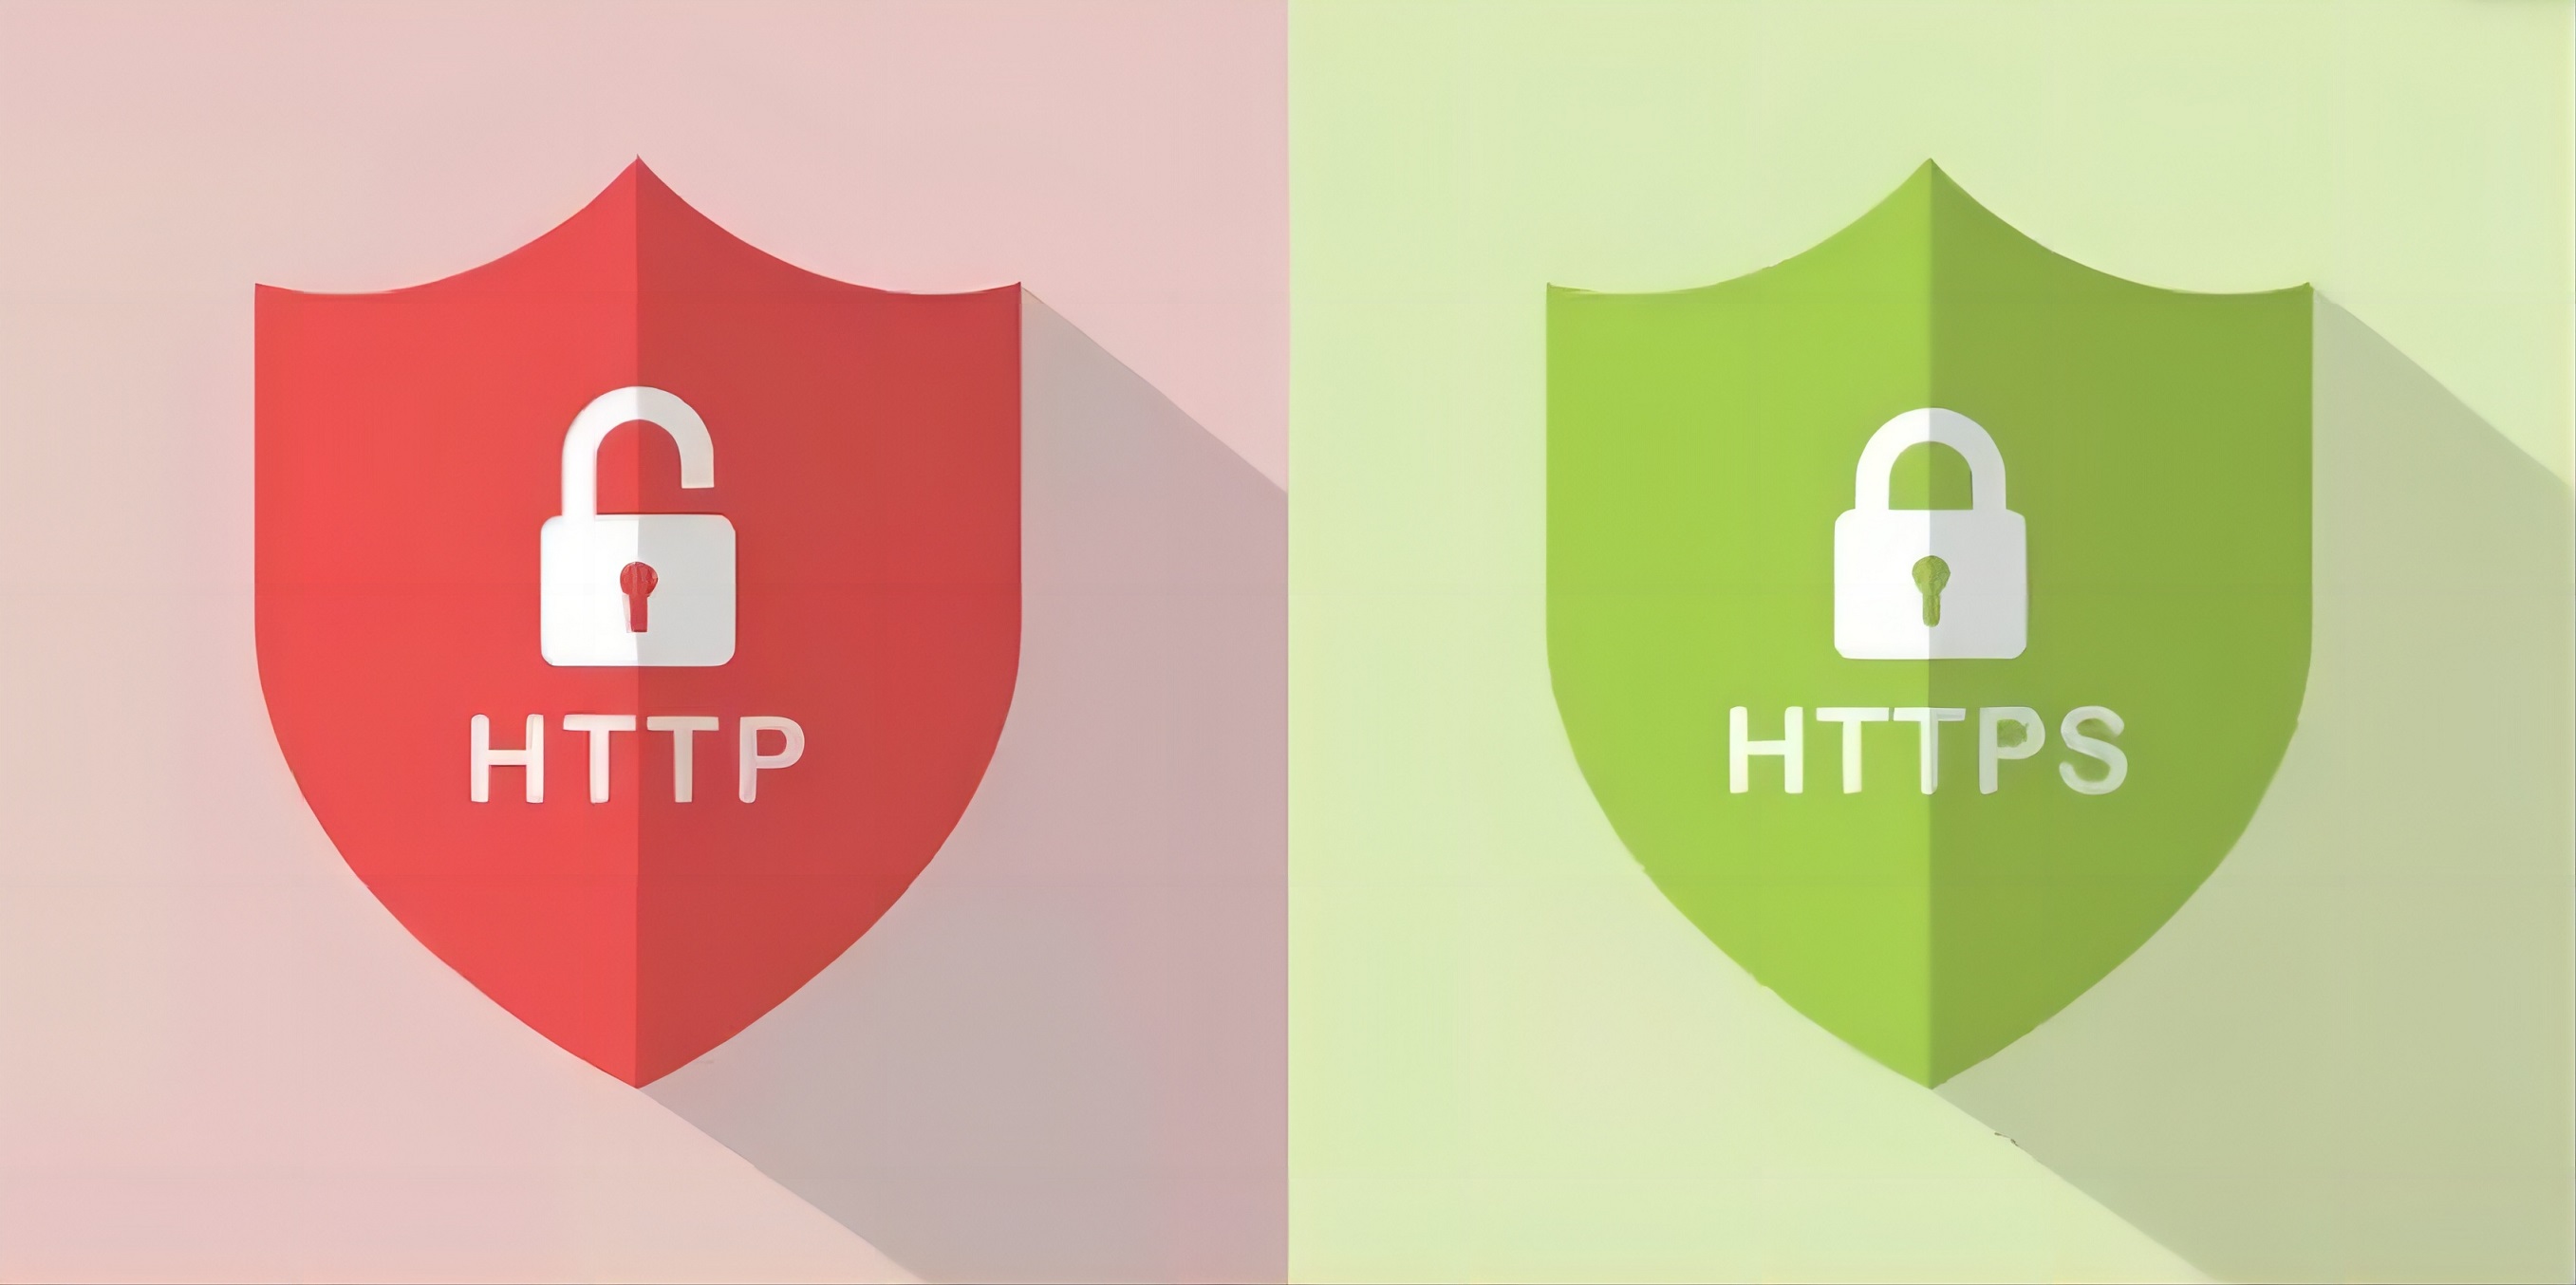
为什么要将HTTP升级为HTTPS
超文本传输协议HTTP协议被用于在Web浏览器和网站服务器之间传递信息,HTTP协议以明文方式发送内容,不提供任何方式的数据加密,如果攻击者截取了Web浏览器和网站服务器之间的传输报文,就可以直接读懂其中的信息,因此,HTTP协议不适合传输一些敏感信息,比如:信用卡号、密码等支付信息。
为了解决HTTP协议的这一缺陷,需要使用另一种协议:安全套接字层超文本传输协议HTTPS,为了数据传输的安全,HTTPS在HTTP的基础上加入了SSL协议,SSL依靠证书来验证服务器的身份,并为浏览器和服务器之间的通信加密。
Let’s Encrypt
Let’s Encrypt 是一家免费、开放、自动化的公益性证书颁发机构(CA),由互联网安全研究组(ISRG)运作。Let’s Encrypt的宗旨是尽可能对用户友好地免费提供数字证书,帮助各类网站启用HTTPSSSL/TLS,以创建一个更安全、更尊重隐私的Web环境。
环境
阿里云centos7
申请步骤
安装Certbot
1
2
sudo yum install epel-release -y
sudo yum install certbot -y使用DNS验证生成证书
1
sudo certbot certonly --manual --preferred-challenges dns -d 你的域名
回车输入通知的电子邮件
Cerbot会提示创建一个特定的DNS TXT记录来验证
1
2
3
4
5
6
7
8
9
10
11
12
13
14
15
16
17
Please deploy a DNS TXT record under the name:
_acme-challenge.www.XXX.top
with the following value:
XXXXXXXXXXXXXXXXXXXXXXXXXXXXXXXXXXXXXXXXX
Before continuing, verify the TXT record has been deployed. Depending on the DNS
provider, this may take some time, from a few seconds to multiple minutes. You can
check if it has finished deploying with aid of online tools, such as the Google
Admin Toolbox: https://toolbox.googleapps.com/apps/dig/#TXT/_acme-challenge.ljscope.top.
Look for one or more bolded line(s) below the line ';ANSWER'. It should show the
value(s) you've just added.
- - - - - - - - - - - - - - - - - - - - - - - - - - - - - - - - - - - - - - - -
Press Enter to Continue登录阿里云DNS解析中心,为你的域名添加TXT记录,值为上面省略内容
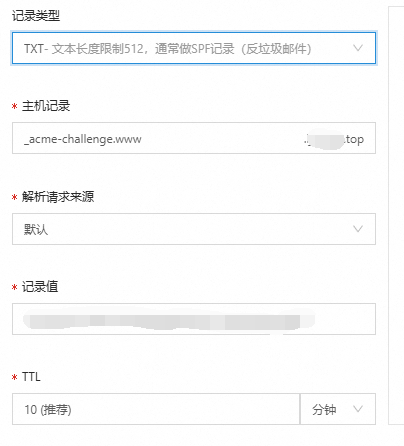
点击确定等待DNS生效,回到服务器按下回车生成证书
找到生成的证书
一般地址在服务器的
/etc/letsencrypt/live/api.moon.com/fullchain.pem:完整的证书链
privkey.pem:私钥文件在nginx中配置
1
2
3
4
5
6
7
8
9
10
11
12
13
14
15
16
17
18
19
20
21
22
23
24
25
26
27
server {
listen 443 ssl;
#填写证书绑定的域名
server_name ljscope.top;
#填写证书文件绝对路径
ssl_certificate ../cert/fullchain.pem;
#填写证书私钥文件绝对路径
ssl_certificate_key ../cert/ljscope.top.key;
ssl_session_cache shared:SSL:1m;
ssl_session_timeout 5m;
#自定义设置使用的TLS协议的类型以及加密套件(以下为配置示例,请您自行评估是否需要配置)
#TLS协议版本越高,HTTPS通信的安全性越高,但是相较于低版本TLS协议,高版本TLS协议对浏览器的兼容性较差。
ssl_ciphers ECDHE-RSA-AES128-GCM-SHA256:ECDHE:ECDH:AES:HIGH:!NULL:!aNULL:!MD5:!ADH:!RC4;
ssl_protocols TLSv1.1 TLSv1.2 TLSv1.3;
#表示优先使用服务端加密套件。默认开启
ssl_prefer_server_ciphers on;
location / {
root /ljscope;
index index.html index.htm;
}
}重启nginx更新配置
注意
Let’s Encrypt虽然是免费的,但是仅支持单次续期3个月所以三个月之后需要手动续期
查询域名ssl证书过期时间
1 | echo | openssl s_client -servername www.example.com -connect www.example.com:443 2>/dev/null | openssl x509 -noout -dates |
自动续期
1 | sudo certbot certonly --renew-by-default -d YOURDOMAIN --manual --preferred-challenges dns |